
Managing your finances effectively starts with staying organized. A bills calendar in Google Sheets can help you track due dates, amounts, and payment statuses in one place. In this guide, I’ll show you how to create a customized bills calendar step-by-step. You’ll also find a free template to get started immediately!
Why Use Google Sheets for a Bills Calendar?
Google Sheets is a free, versatile tool that’s accessible from anywhere. It allows you to:
Customize your calendar to fit your needs.
Add formulas for automation.
Use conditional formatting to highlight important details.
Let’s dive into the process!
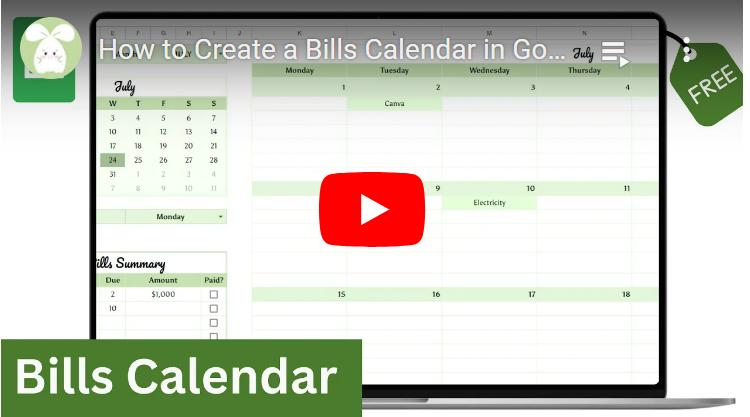
Step 1: Set Up the Calendar Structure
Before creating the bills section, start with a basic calendar. If you’re unsure how to create one, check out my detailed video tutorial and free template here.
Remove unnecessary columns: Keep your sheet clean by deleting extra columns.
Expand columns: Adjust the width of seven columns on the right to display calendar data properly.
Add weekday headers: At the top of the calendar, type the first day of the month in one cell. Use the formula
=TEXT(cell, "dddd")to auto-fill weekday names. Drag the fill handle across for the entire week.
Step 2: Create the Bills Summary Section
Add columns for details:
Category
Due Date
Amount
Payment Status (e.g., Paid or Unpaid)
Merge cells for titles: Select the cells for each title and merge them horizontally for a cleaner layout.
Insert checkboxes: Use checkboxes in the “Payment Status” column for easy tracking. Go to
Insert > Checkboxand select the appropriate cells.
Step 3: Add a Mini Calendar for Quick Date Selection
A mini calendar simplifies date entry.
Highlight the “Due Date” column.
Go to
Data > Data Validation.Select “Date” as the criteria and check the “Show validation help text” option.
Now, when you double-click a cell in this column, a mini calendar will pop up for quick date selection. Format the dates using Format > Number > Custom Date and Time to display only the day.
Step 4: Automate and Highlight Data
Conditional Formatting
Highlight rows based on payment status:
Go to
Format > Conditional Formatting.Use a custom formula like
=$E$19:$E$60=TRUEfor checkboxes.Apply a unique color to distinguish paid vs. unpaid bills.
Linking Bills to the Calendar
To link bills from your summary section to the main calendar:
Use the
FILTERfunction to extract relevant data. Example:=FILTER(B9:D60, E19:E60=TRUE)Adjust the range to fit your data.
Handle errors with the
IFERRORfunction to return blank cells instead of errors.=IFERROR(FILTER(B9:D60, E19:E60=TRUE), "")Use conditional formatting to highlight calendar cells containing bills.
Step 5: Add Personal Touches
Make your bills calendar visually appealing:
Choose a theme color that matches your style.
Add headers or icons for categories like utilities, subscriptions, and more.
Use borders or gridlines to separate sections clearly.
Free Template
Want to skip the setup and start tracking your bills immediately? Download my free template here.
Bonus: Monthly Budget Tracker
If you’re interested in managing your finances more comprehensively, check out my monthly budget tracker template. It includes tools for tracking:
Income
Expenses
Subscriptions
Savings
Investments
Debt payments
Conclusion
Creating a bills calendar in Google Sheets is a powerful way to organize your finances. With features like conditional formatting, automated formulas, and a mini calendar, you’ll never miss a due date again. If you found this guide helpful, don’t forget to like, comment, and subscribe to my channel for more tutorials. Visit my website for free resources and templates.
Happy organizing!